Crispy Cheese Tortilla Cones Recipe
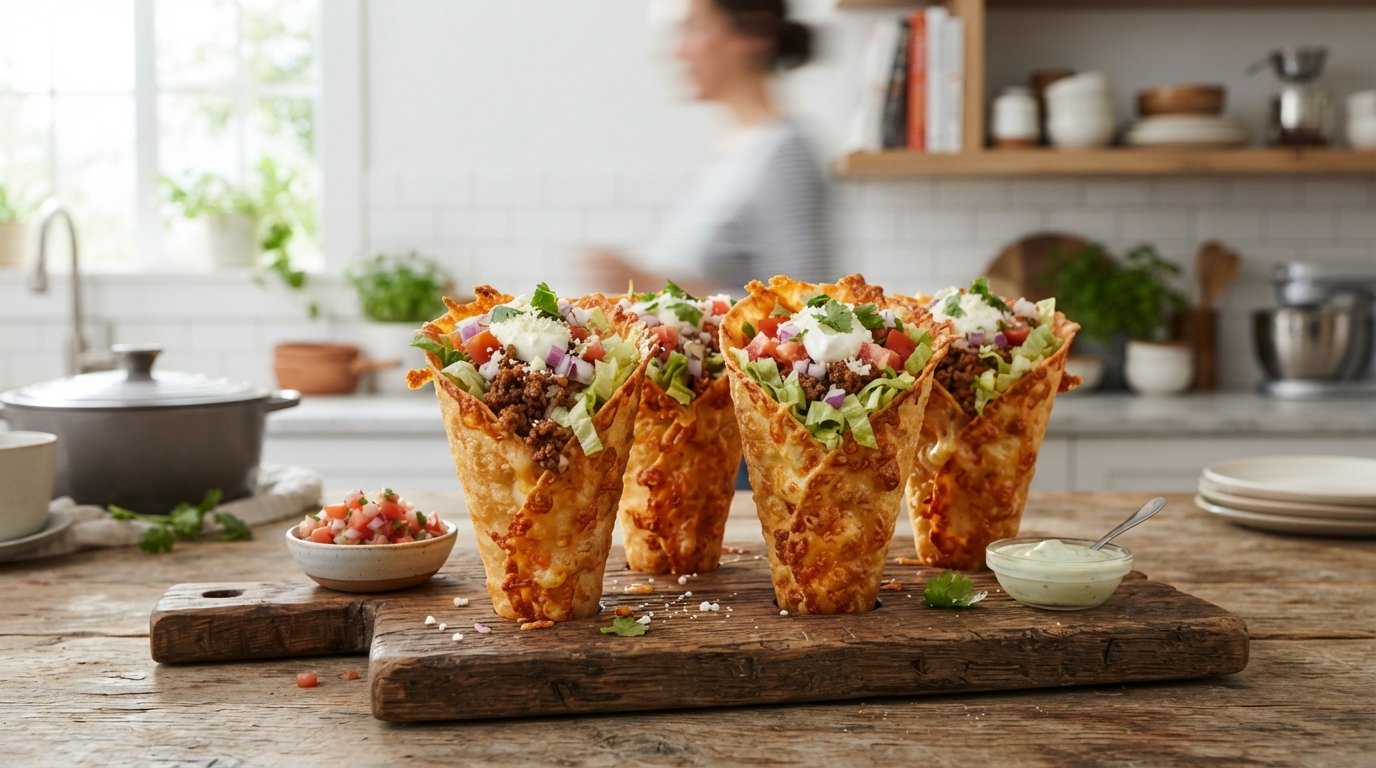
The first time I pulled apart one of these golden cones and watched the cheese stretch endlessly, I knew I had a new favorite snack. Crispy outside, loaded with seasoned beef, peppers, and molten cheese inside, these tortilla cones deliver pure comfort in every bite. They come together faster than you might expect and disappear even faster once they hit the table. If you love cheesy, crunchy handheld food, this recipe is about to become a regular request.
Check this out too: Easy Guacamole Dip [blocked]
Why you’ll love this recipe
These crispy cheese tortilla cones are fun, filling, and packed with flavor.
- Shatteringly crisp shell with gooey cheese center
- Ready from start to finish in about thirty minutes
- Customizable filling that kids and adults both love
- Perfect handheld snack or casual party food
Ingredients
A short list of everyday ingredients creates these golden, cheese-filled tortilla cones.
- 8 small flour tortillas
- 1 lb ground beef
- 1 onion, diced
- 1 red bell pepper, sliced
- 1 yellow bell pepper, sliced
- 1 green bell pepper, sliced
- 8 slices cheddar cheese
- 1 cup shredded mozzarella
- 2 tbsp oil for frying
- Salt and pepper to taste
- Green avocado dip for serving
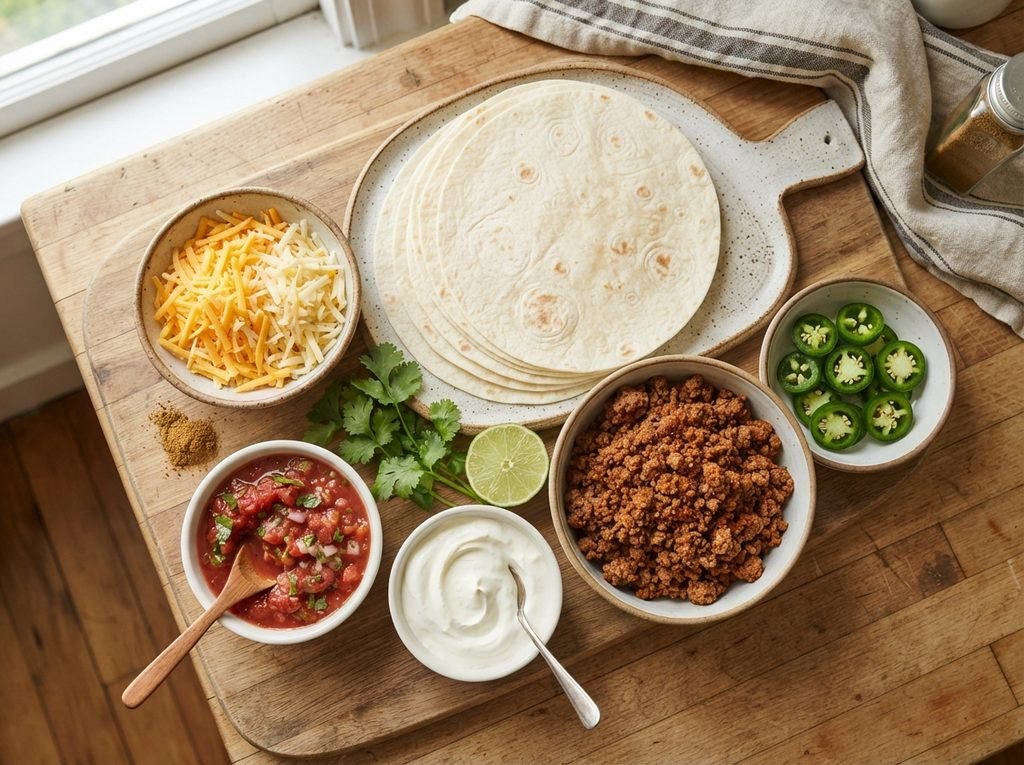
Ground turkey or plant-based crumbles work well in place of beef. Any melting cheese can replace the cheddar and mozzarella mix. Corn tortillas can be used if you prefer a slightly different texture, though flour ones crisp more evenly. Fresh peppers give the best color and crunch, but frozen sliced peppers are fine in a pinch.
Don’t miss: Homemade Flour Tortillas [blocked]
Step-by-step instructions
These clear steps turn simple tortillas into crispy, cheese-stuffed cones ready to dip and enjoy.
Step 1: Cook the beef
Heat a large skillet over medium heat and add the ground beef. Break it up with a wooden spoon and cook until no pink remains, about six minutes.
Step 2: Add the vegetables
Stir in the diced onion and sliced bell peppers. Continue cooking for another five minutes until the vegetables soften and the mixture is fragrant.
Step 3: Season the filling
Season the beef and pepper mixture with salt and pepper. Taste and adjust so the filling is well-seasoned before assembling the cones.
Step 4: Shape the tortillas
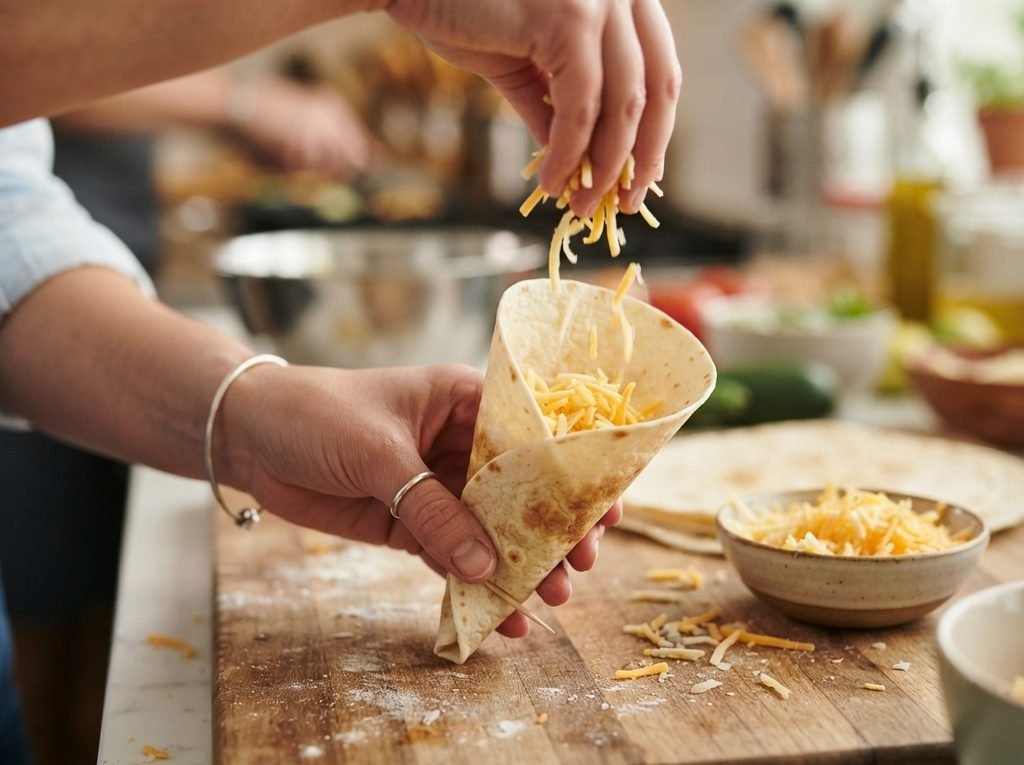
Warm the tortillas slightly so they are pliable. Roll each one into a tight cone shape, tucking the bottom edge to hold the form.
Step 5: Add the cheese
Place one or two slices of cheddar inside each cone along with a small handful of shredded mozzarella. The cheese should sit near the bottom so it melts evenly.
Step 6: Fill the cones
Spoon the warm beef and pepper mixture into each cheese-lined cone. Pack it firmly but leave a little space at the top so nothing spills during frying.
Step 7: Fry until golden
Heat oil in a skillet over medium heat. Carefully place the filled cones seam-side down and fry, turning as needed, until the tortillas are deep golden and crisp.
Step 8: Drain and serve
Transfer the finished cones to a paper-towel-lined plate. Serve immediately with a side of creamy green avocado dip for dipping while the cheese is still stretchy.

Tips & common mistakes
A few careful details guarantee the crispiest shells and the longest cheese pulls every time.
- Warm tortillas first so they roll without cracking
- Do not overfill or the cones may open while frying
- Keep the oil at medium heat for even browning
- Serve right away for maximum cheese stretch
Recipe variations
Simple swaps let you change the flavor while keeping the same crispy cone method.
- Use seasoned ground chicken for a lighter filling
- Add corn kernels and black beans for extra texture
- Spice the beef with taco seasoning for bolder heat
- Bake the cones instead of frying for a lighter version
What to serve with this recipe
These pairings turn the crispy cones into a complete and satisfying meal or snack spread.
- Creamy avocado or guacamole dip for cooling contrast
- Fresh pico de gallo or salsa on the side
- Simple green salad to balance the richness
- Cold sparkling water or light beer to drink
One more to try: Fresh Pico de Gallo [blocked]
Frequently asked questions
Here are answers to the questions people ask most often about these cones.
Can I make these ahead of time?
You can prepare the filling and shape the cones a few hours ahead. Keep them covered in the refrigerator and fry just before serving so the shells stay crisp.
How do I keep the cones from unrolling?
Warm the tortillas well and press the seam firmly. Frying seam-side down first helps seal the edge and keeps everything securely closed.
Can I bake them instead of frying?
Yes, brush the outside lightly with oil and bake at 400°F for twelve to fifteen minutes, turning once. They will be lighter but still nicely golden.
What cheese gives the best stretch?
A mix of cheddar slices and shredded mozzarella creates the longest, most satisfying cheese pull. Avoid pre-shredded cheese if possible for better melting.
Final thoughts
These crispy cheese tortilla cones deliver everything you want in a fun handheld snack: crunch, stretch, and bold savory flavor. They look impressive yet come together with everyday ingredients in under half an hour. Try them for your next movie night or casual gathering and let me know in the comments how the cheese pull went. A quick rating helps others find this crowd-pleasing recipe too. Enjoy every crispy, cheesy bite!