Crispy Homemade Chicken Katsu Recipe Easy
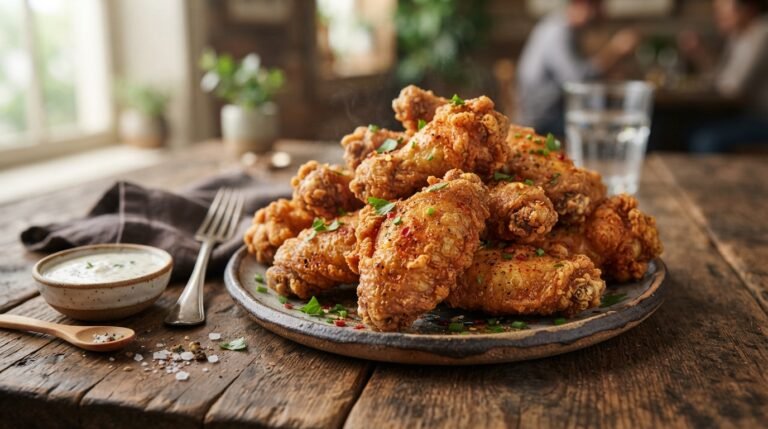
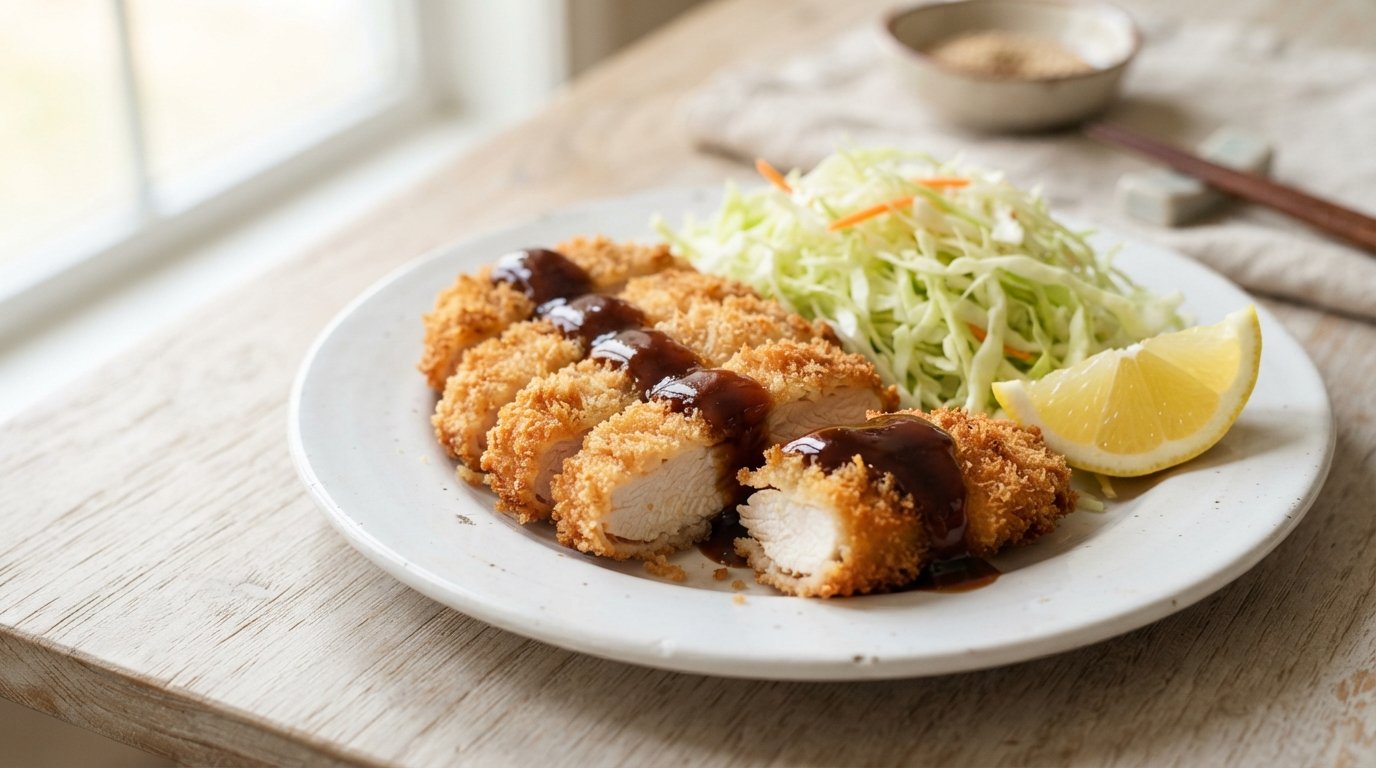
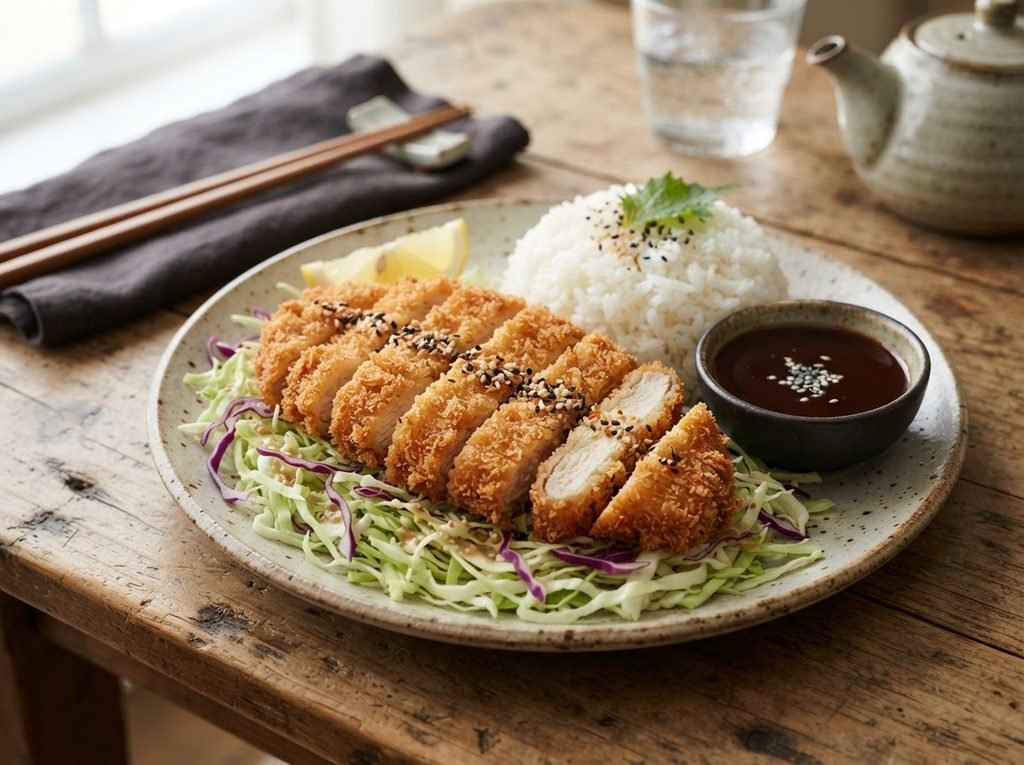
Crispy golden chicken katsu is pure comfort food that feels special yet comes together with simple steps. Thin pounded chicken gets seasoned, coated in panko, and fried until shatteringly crisp outside while staying juicy inside. Serve it sliced with that classic sweet-savory sauce for a restaurant-style dinner at home any night of the week.
Don’t miss: Classic Japanese curry rice [blocked]
Why you’ll love this recipe
This chicken katsu delivers that perfect crunch and juicy interior every single time.
- Simple pantry ingredients create authentic crispy results
- Thin pounded chicken cooks quickly and stays tender
- Panko coating gives superior golden crunch versus regular crumbs
- Perfect for weeknights yet impressive enough for guests
Ingredients
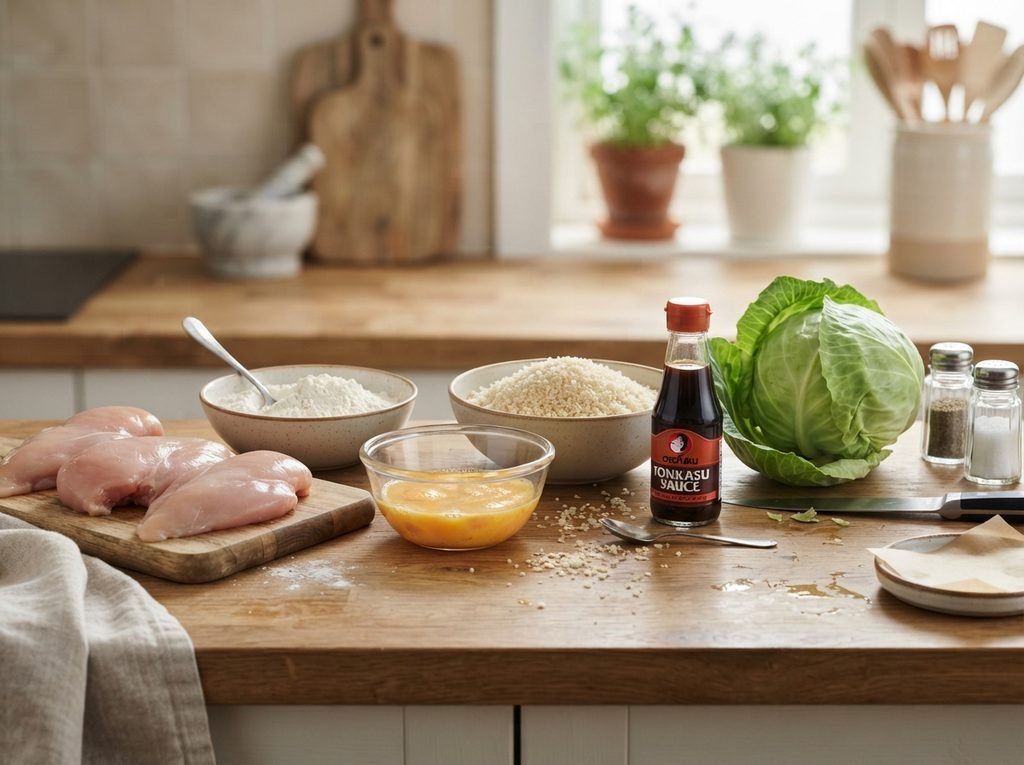
These basic items create restaurant-quality crispy chicken katsu at home.
- 2 boneless skinless chicken breasts
- Salt and black pepper to taste
- 1/2 cup all-purpose flour
- 2 large eggs
- 1 1/2 cups panko breadcrumbs
- Vegetable oil for frying
- Tonkatsu sauce for serving
Pound the chicken evenly for consistent cooking. Use Japanese-style panko for the lightest crunch. Regular breadcrumbs work in a pinch but yield denser coating. Store-bought tonkatsu sauce is convenient, or mix ketchup, Worcestershire, and a touch of soy for a quick homemade version.
While you’re at it: Easy homemade tonkatsu sauce [blocked]
Step-by-step instructions
These straightforward steps turn plain chicken into perfectly crispy katsu.
Step 1: Prep the chicken
Slice each chicken breast horizontally into thinner cutlets if thick. Cover with plastic wrap and pound gently to even thickness about half an inch for quick even cooking.
Step 2: Season the cutlets
Sprinkle both sides of the pounded chicken generously with salt and black pepper. This simple seasoning builds flavor right into the meat before any coating goes on.
Step 3: Set up the dredging station
Place flour on one plate, beaten eggs in a shallow dish, and panko on another plate. Arrange them in order so you can move the chicken smoothly from one to the next.
Step 4: Coat in flour
Dredge each seasoned cutlet thoroughly in the flour, shaking off any excess. The light flour layer helps the egg adhere properly for a sturdy coating later.
Step 5: Dip in egg
Transfer the floured chicken into the beaten egg, coating both sides completely. Let any excess egg drip off so the panko sticks evenly without becoming soggy.
Step 6: Cover with panko
Press the egg-coated chicken firmly into the panko breadcrumbs on both sides. Make sure every surface is well covered for maximum crispiness once fried.
Step 7: Fry until golden
Heat about half an inch of oil in a skillet over medium heat. Fry the coated chicken two to three minutes per side until deep golden brown and cooked through.
Step 8: Rest, slice and serve
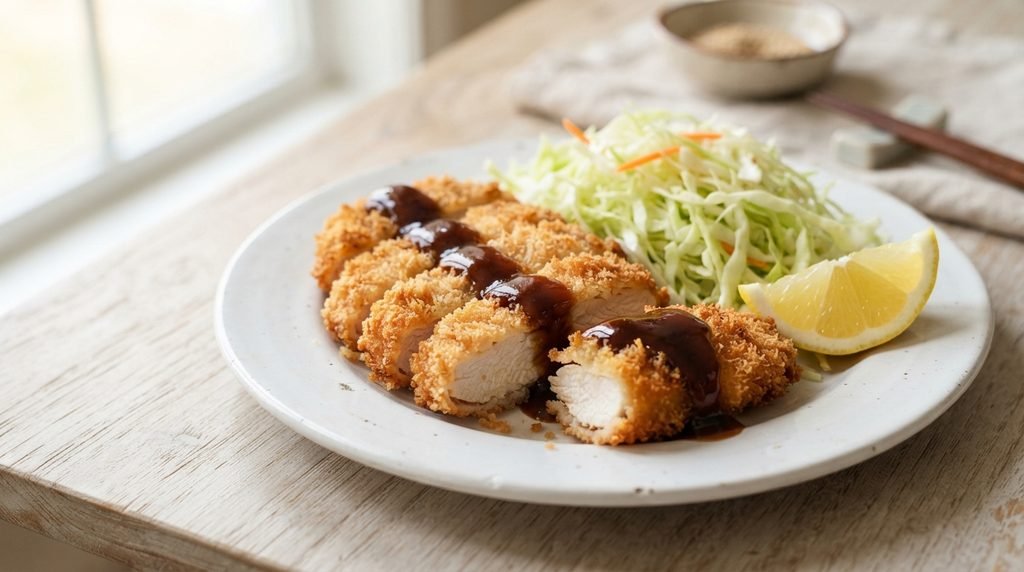
Drain the fried katsu on a wire rack or paper towels briefly. Slice into strips and serve immediately with tonkatsu sauce for dipping or drizzling.
Tips & common mistakes
A few key details guarantee the crispiest possible chicken katsu results.
- Keep oil temperature steady around 350°F for even browning
- Avoid overcrowding the pan so the coating stays crispy
- Pound chicken evenly so it cooks at the same rate throughout
- Drain on a rack instead of paper to prevent sogginess
Recipe variations
Easy tweaks let you adapt this classic chicken katsu to different preferences.
- Add a pinch of garlic powder to the flour for extra savory notes
- Use chicken thighs instead of breasts for richer juicier meat
- Bake at 425°F on a wire rack for a lighter oven version
- Serve over rice with curry sauce for a full katsu curry meal
What to serve with this recipe
Pair crispy chicken katsu with these classic and complementary sides.
- Steamed white rice to balance the rich crunchy coating
- Simple shredded cabbage salad with light sesame dressing
- Miso soup for a traditional Japanese meal feel
- Pickled ginger or cucumber for bright refreshing contrast
Another reader favorite: Quick Japanese sesame cabbage salad [blocked]
Frequently asked questions
Common questions about making perfect chicken katsu at home answered simply.
Can I make chicken katsu ahead of time?
You can bread the cutlets a few hours ahead and refrigerate them. Fry just before serving so the coating stays as crispy as possible.
What oil is best for frying katsu?
Neutral oils like vegetable, canola, or peanut work well. They have high smoke points and let the panko flavor shine without adding extra taste.
How do I know the chicken is fully cooked?
The internal temperature should reach 165°F. The coating will be deep golden and the juices should run clear when sliced.
Can I reheat leftover chicken katsu?
Reheat in a 375°F oven or air fryer for a few minutes. This restores crispiness far better than the microwave which softens the coating.
Final thoughts
Homemade chicken katsu proves that a few simple techniques and pantry staples can create something truly special. The contrast of crunchy panko and juicy chicken never gets old. Try this recipe soon and let me know in the comments how it turned out. A quick rating helps others find this crispy favorite too!